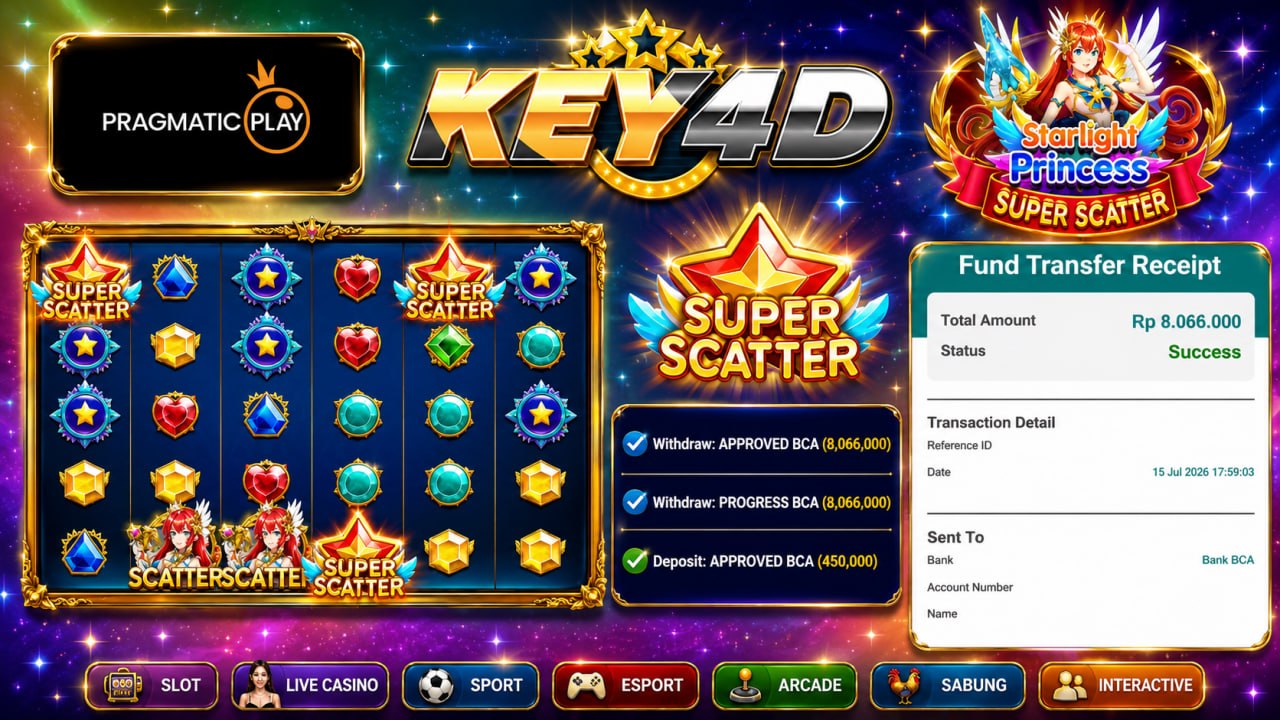
How to Repot Indoor Plants Without Killing Them – Step-by-Step Guide

Introduction

How to repot indoor plants is one of those essential skills that separates beginner plant parents from confident indoor gardeners. If you’ve ever wondered why your pothos is suddenly looking sad or your monstera has roots peeking through the pot, it’s probably time for a repot.

Done correctly, repotting gives your plants room to grow, refreshes tired soil, and boosts overall health. Done poorly, it can shock the plant—or even kill it. The good news? With the right tools, timing, and techniques, you can repot any indoor plant without harm.

In this ultimate guide, you’ll learn when to repot indoor plants, step-by-step instructions, species-specific repotting tips, common mistakes to avoid, and aftercare advice. By the end, you’ll be ready to give your leafy friends a fresh start.

how to repot indoor plants step by step
how to repot indoor plants

Why Repotting Is Essential for Indoor Plants

Repotting isn’t just about moving a plant into a prettier container. It’s a fundamental part of plant care. Over time, the soil breaks down, compacts, and loses nutrients. Roots become crowded, and water drainage suffers.

Key benefits of repotting:

  • Promotes root health: Fresh soil encourages healthy root expansion.
  • Improves nutrient access: New potting mix replenishes lost minerals.
  • Enhances drainage: Prevents soggy soil and root rot.
  • Boosts growth: Space and nutrients stimulate leaf and stem development.
  • Corrects soil pH: Some plants need specific pH levels for optimal health.

💡 Tip: If you’ve never repotted before, start with hardy plants like snake plants or pothos—they’re forgiving.


When to Repot Indoor Plants

Recognizing when to repot indoor plants is just as important as knowing how. Repotting too soon can stress your plant; waiting too long can stunt growth.

Signs it’s time to repot:

  • Roots are growing out of the drainage holes.
  • Soil dries out within 1–2 days after watering.
  • The plant is top-heavy or keeps tipping over.
  • Visible root mass on the soil surface.
  • Growth has slowed even in ideal conditions.
  • The pot is cracked or deformed from root pressure.
  • Water runs straight through the pot without absorbing.

Best seasons for repotting:

  • Spring and early summer: Plants are actively growing and can recover quickly.
  • Avoid late autumn and winter: Most indoor plants are semi-dormant and more vulnerable to shock.

Tools and Materials You’ll Need

Gathering everything beforehand will make repotting smoother and less stressful—for you and the plant.

  • New pot (1–2 inches wider than the current one, with drainage holes)
  • Fresh potting mix suitable for your plant species
  • Gloves (optional but helpful)
  • Small trowel or scoop
  • Clean, sharp pruning shears
  • Watering can or spray bottle
  • Old newspaper or mat to protect surfaces
  • Stakes or supports for tall plants
tools and materials needed for how to repot indoor plants

Related resource: Best Potting Soil for Indoor Plants


Step-by-Step: How to Repot Indoor Plants

Step 1: Choose the Right Pot

  • Go only one pot size up—too large a jump can cause moisture retention problems.
  • Ensure the pot has drainage holes to prevent root rot.
  • Clay pots are breathable but dry out faster; plastic retains moisture longer.

Step 2: Prepare the Soil

  • Match the potting mix to your plant’s needs:
    • Tropical plants: Light, moisture-retaining mix.
    • Succulents and cacti: Well-draining, sandy mix.
    • Orchids: Chunky bark-based mix.
  • Pre-moisten the soil slightly before use.

Step 3: Water Before Repotting

  • Water the plant the day before—it softens the soil and reduces transplant shock.

Step 4: Remove the Plant

  • Gently squeeze or tap the pot sides to loosen the root ball.
  • Turn the pot sideways, support the plant’s base, and slide it out.

Step 5: Examine and Loosen Roots

  • Gently untangle circling roots with your fingers.
  • For root bound plants, make 3–4 shallow vertical cuts with clean shears to encourage outward growth.
  • Trim any dead, mushy, or blackened roots.

Step 6: Position in the New Pot

  • Add a base layer of soil so the plant sits at the same height as before.
  • Center the root ball and fill in around it with fresh mix.

Step 7: Water Thoroughly

  • Water until liquid drains from the bottom.
  • Add more soil if it settles after watering.
how to repot a root bound plant by trimming tangled roots

Repotting Tips for Specific Indoor Plants

Monstera and Other Large Tropical Plants

  • Use a sturdy pot to prevent tipping.
  • Stake stems if needed after repotting.

Succulents and Cacti

  • Use a gritty, fast-draining mix.
  • Avoid watering for 3–5 days after repotting to prevent rot.

Orchids

  • Only repot when the potting medium breaks down.
  • Use orchid bark, not standard soil.

Herbs

  • Many herbs prefer slightly smaller pots; don’t oversize.
  • Repot every 6–12 months for best flavor.

Common Mistakes to Avoid

  1. Overpotting – Excess soil retains water, leading to root rot.
  2. Wrong soil choice – Match soil type to plant species.
  3. Damaging too many roots – Limit root trimming to no more than 20%.
  4. Repotting during dormancy – Wait for active growth season.
  5. Skipping drainage – Non-draining pots are a death sentence for most plants.

Aftercare: Helping Your Plant Recover

  • Place in bright, indirect light for 1–2 weeks.
  • Keep soil slightly moist, not soggy.
  • Avoid fertilizing for 4–6 weeks—roots need time to adjust.
  • Watch for signs of stress (wilting, yellowing leaves) and adjust care.
aftercare steps for indoor plants after repotting in indirect light

Seasonal Repotting Advice

Spring/Early Summer: Best time—fast recovery and growth.
Late Summer: Okay for fast-growing plants, but avoid heatwaves.
Autumn: Only if necessary—plants start slowing growth.
Winter: Emergency repots only—keep warm and reduce watering.


How to Repot a Root Bound Plant

Root bound plants can be tricky, but here’s a safe method:

  • Cut away up to 1 inch of tightly packed roots around the root ball.
  • Gently tease apart remaining roots.
  • Use a slightly larger pot and fresh soil.
  • Water well and keep in indirect light until recovery.

Signs Your Indoor Plant Needs Repotting Soon

  • Soil dries too quickly.
  • Water pools on the surface before soaking in.
  • Plant stops growing despite regular care.
  • Roots are visible above the soil.

FAQs About Repotting Indoor Plants

Can I repot in winter?

Only if the plant is severely root bound or diseased. Otherwise, wait until spring.

Should I water right after repotting?

A: Yes, to settle the soil and remove air pockets.

My plant drooped after repotting—what now?

Give it time. Keep it in indirect light and avoid fertilizing until recovery.


Helpful Resources


Conclusion

Learning how to repot indoor plants is one of the most valuable skills for any plant parent. With the right timing, tools, and methods, you can give your plants a healthier, happier life.

Remember: choose the right pot, use fresh soil, handle roots gently, and care for your plant afterward. Whether it’s a small succulent or a towering monstera, repotting is your chance to help it thrive.

Don’t wait—check your plants today and see which ones are ready for a fresh start!

Leave a Comment

Your email address will not be published. Required fields are marked *

Scroll to Top